GLASS & ALUMINUM
BLOG

Installation Guide: Setting Up Your LED Bathroom Mirror Easily
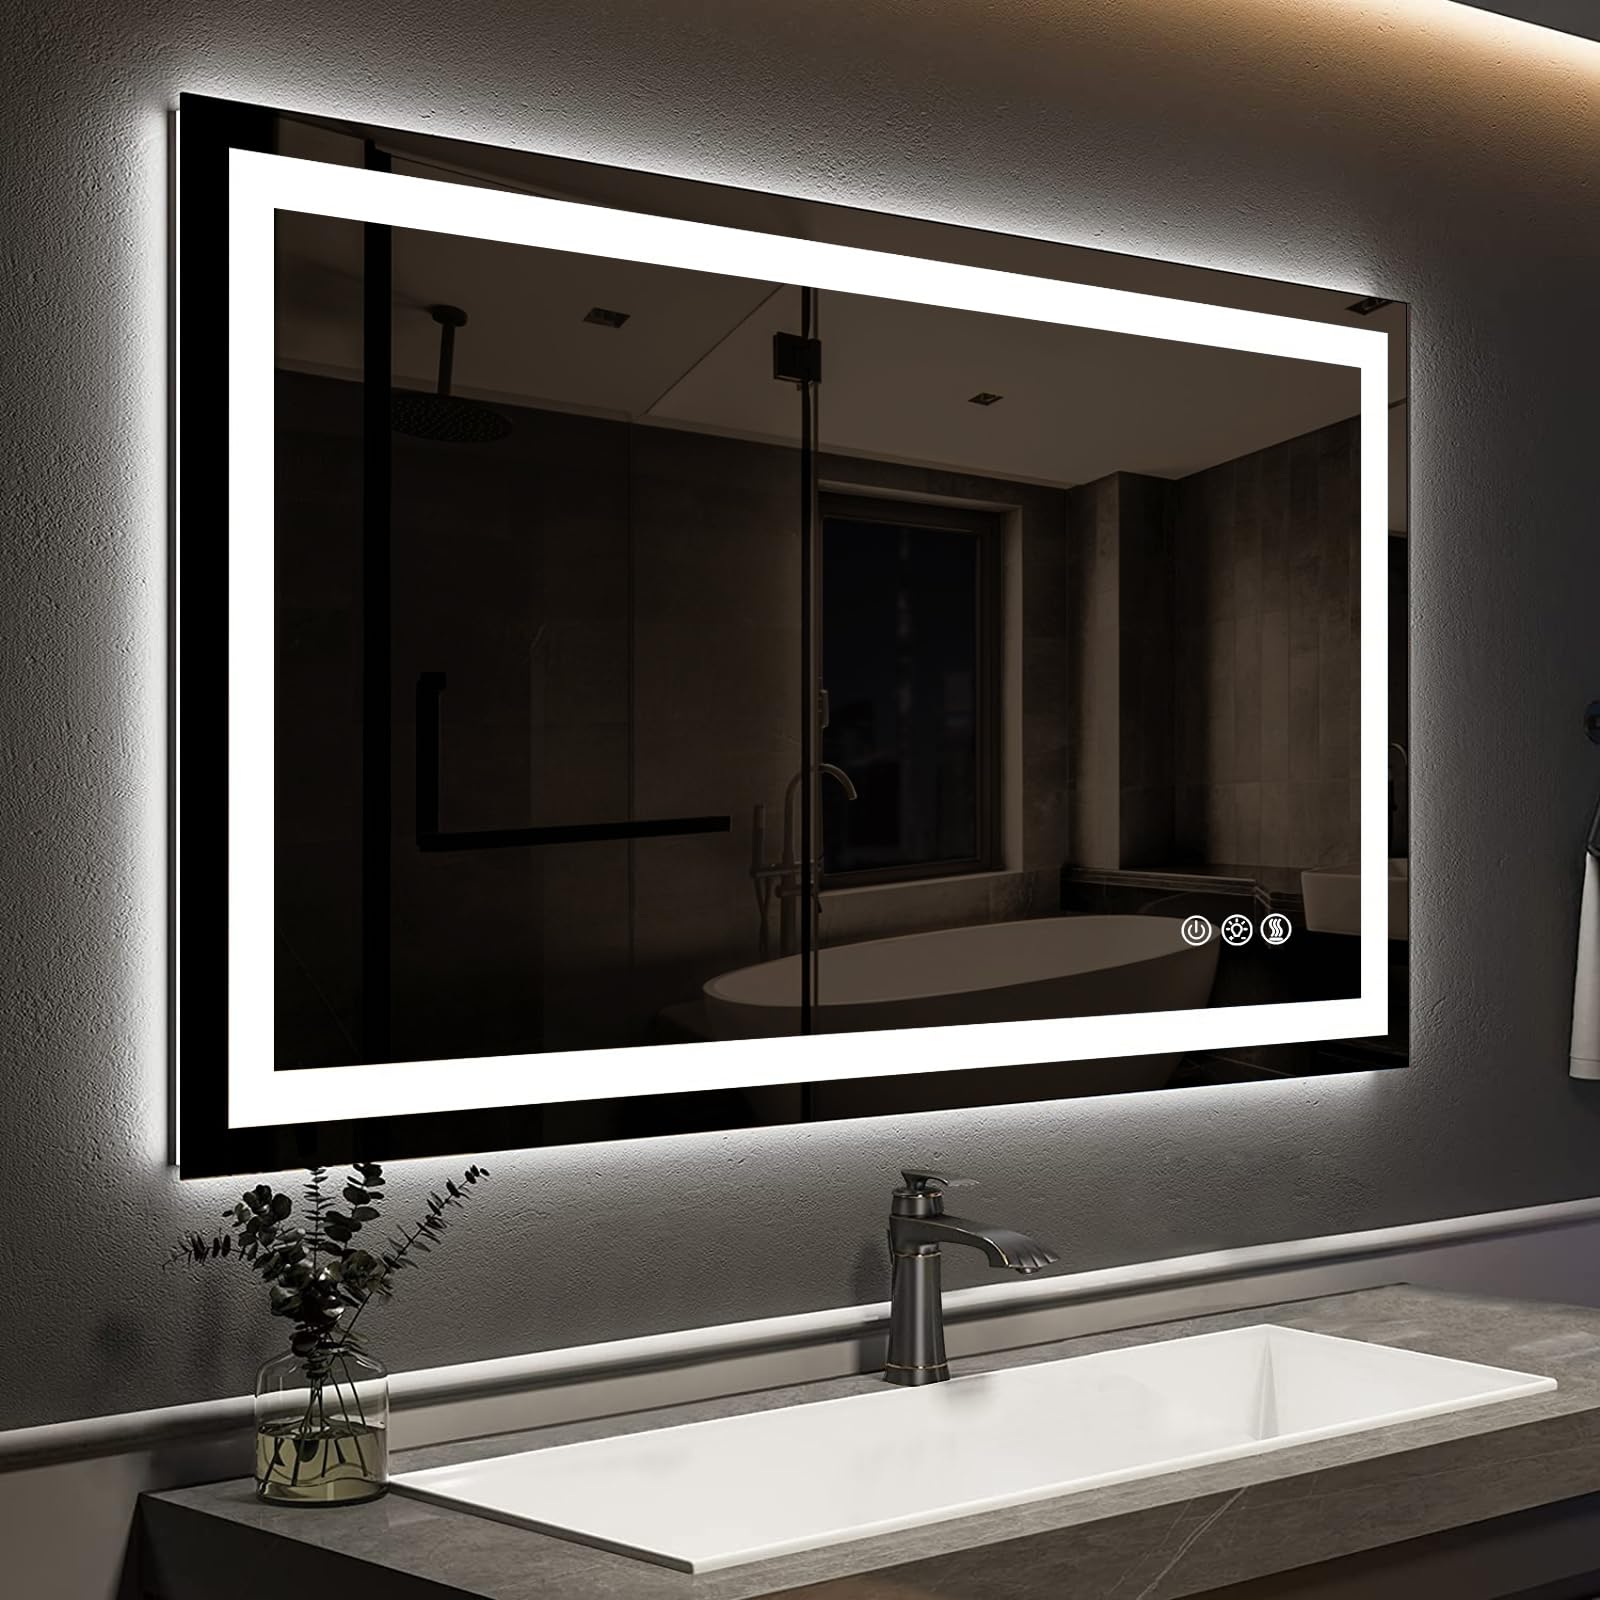
Modern design increasingly features LED bathroom mirrors providing not just light but also a sleek, modern flair that improves your everyday schedule. Installing an LED bathroom mirror is a wise choice that increases both elegance and functionality whether you are redecorating your bathroom or just replacing your vanity.
The good news? Just a steady hand and a thorough instruction will enable you to complete the work, you don't have to be a professional electrician.
We'll guide you in this blog on how to install an LED bathroom mirror quickly and securely so that you may enjoy that hotel-like shine in your own home.
What You’ll Need?Before starting, gather the following tools and materials:
- LED bathroom mirror from a trusted supplier (like Safin Glass)
- Wall anchors and screws (usually included with your mirror)
- Power drill and drill bits
- Screwdriver
- Measuring tape
- Level
- Pencil or marker
- Wire connectors (if it's a hardwired mirror)
- Electrical tester
- Wall brackets (if provided)
Important: If your mirror is hardwired, you should turn off the electricity at the circuit breaker and consult a certified electrician if you’re unsure about handling electrical connections.
Step 1: Choose the Right LocationBefore you pick up any tools, determine where your mirror should go. Ask yourself:
- Is it centered above the vanity?
- Is there an existing electrical outlet or junction box nearby?
- Is the wall surface strong enough to support the mirror’s weight?
Tip: A standard mirror should be positioned 5 to 10 inches above the sink, and the center of the mirror should be at eye level (usually 57 to 65 inches from the floor).
Step 2: Mark the Mounting PointsHold the mirror up to the desired location or use a cardboard cutout to simulate its size. Use a level to ensure perfect horizontal alignment. Mark the mounting holes or bracket positions with a pencil.
Pro tip: If your mirror has keyhole slots or bracket mounting, mark their positions accurately to prevent misalignment.
Step 3: Install the Wall Mounts or BracketsNow it's time to prepare the wall:
- Drill holes where you made your marks.
- Insert wall anchors (especially important for drywall installations).
- Screw in the mounting brackets or hangers that came with your LED mirror.
Ensure everything is level and firmly attached to the wall before proceeding.
Step 4: Connect the Electrical Wiring (Hardwired Mirrors Only)Turn off power at the breaker box before you start any wiring. If your mirror is plug-in, simply plug it into the outlet once mounted. If your LED mirror is hardwired:
- Open the mirror’s rear electrical panel.
- Use an electrical tester to confirm there is no current in the wires.
- Connect the mirror’s wires to the wall wires: black to black (live), white to white (neutral), and green/yellow to ground.
- Use wire connectors and electrical tape to secure connections.
- Carefully close the electrical compartment.
Now the satisfying part is hanging the mirror:
- Carefully lift and align the mirror with the brackets or screws.
- Secure the mirror in place based on the mounting method either by sliding it onto the keyholes or securing it directly with screws.
Double-check for stability and alignment.
Step 6: Test and Adjust Lighting FeaturesTurn the power back on and test the LED features:
- Does the touch sensor work?
- Are the lights evenly distributed?
- Is there an anti-fog or dimmer function?
Some advanced LED mirrors from Safin Glass come with Bluetooth speakers, smart temperature control, and built-in clocks to test all features to make sure they work properly.
Step 7: Final TouchesClean the mirror with a soft microfiber cloth to remove fingerprints or dust from the installation process.
Avoid harsh chemicals or abrasive pads.
Make sure there are no visible wires, and everything looks tidy and polished.
Maintenance Tips for Your LED Bathroom Mirror
Once installed, keep your mirror looking and functioning like new:
- Use a soft cloth and mild cleaner regularly
- Avoid water splashing on electrical components
- Turn off the LED when not in use to extend lifespan
- Clean around touch sensors gently to maintain responsiveness
- For fog-free mirrors, give the anti-fog feature a few minutes to activate after turning on.
While most LED bathroom mirrors are designed for DIY installation, there are situations where you should consider hiring a professional:
- If your wall lacks electrical wiring
- If you’re installing a mirror above tiles or marble
- If your mirror is too large or heavy to lift alone
- If you're unsure about any step involving electricity
At Safin Glass, we also offer professional installation services for large residential or commercial mirror projects.
Recap: 7 Easy Steps to Set Up Your LED Bathroom Mirror
- Choose the location
- Mark the mounting points
- Install the wall brackets
- Connect electrical wiring (if needed)
- Mount the mirror
- Test the LED features
- Clean and inspect
With the right preparation and tools, your bathroom can be transformed in less than an hour adding both functionality and elegance.
Need Assistance Picking the Correct Mirror?View our unique selection of LED bathroom mirrors at Safin Glass if you are still looking into shapes, sizes, or functionalities. Custom choices customized for your area, made for beauty, safety, and longevity are offered by us.
Searching for more inspiration? Visit our blog area for interior changes, mirror styles, and bathroom trends ideas.